












Design Tips, Modern Furniture
Solving the Open-Concept Layout: How to Define Zones With Furniture
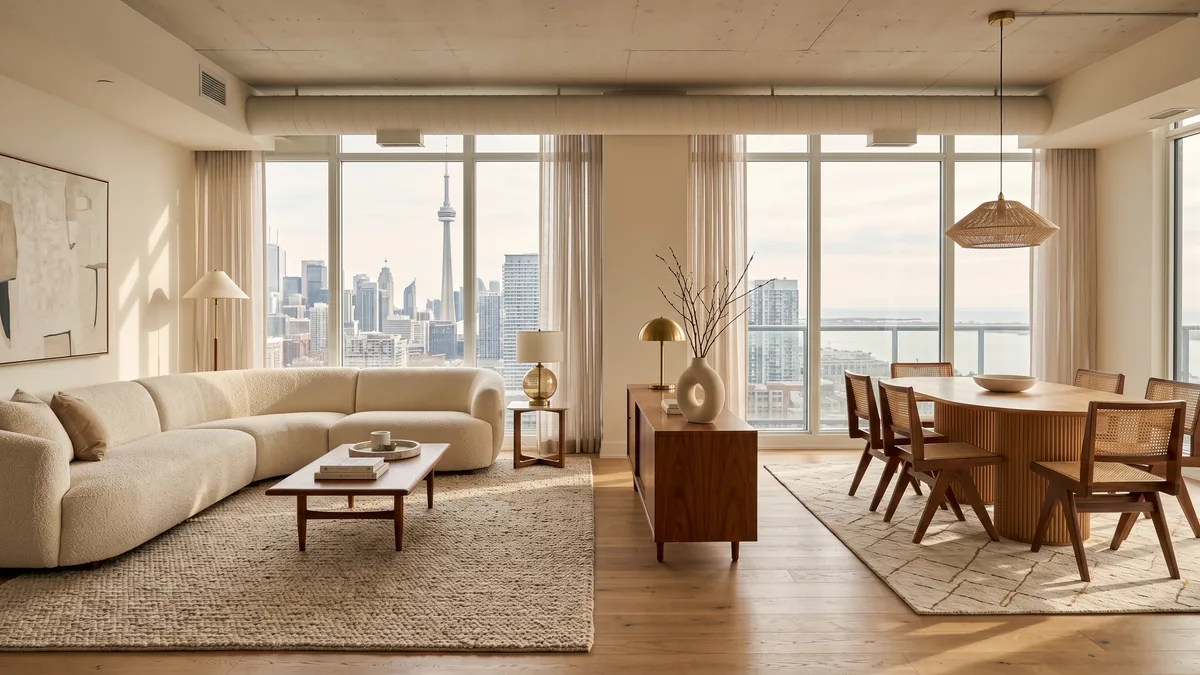
Jun
Open concept floor plans were the dream of the early 2000s. The reality, ten years into living in one, is often a long room that does three jobs poorly: living, dining, and walking through. The fix is not knocking out the wall (you already did) or putting one back. It is using furniture, rugs, and lighting to create zones the eye reads as separate rooms. For Toronto condo dwellers, our team has covered condo furniture for tight spaces in detail; this article applies the same logic to open lofts and detached homes.
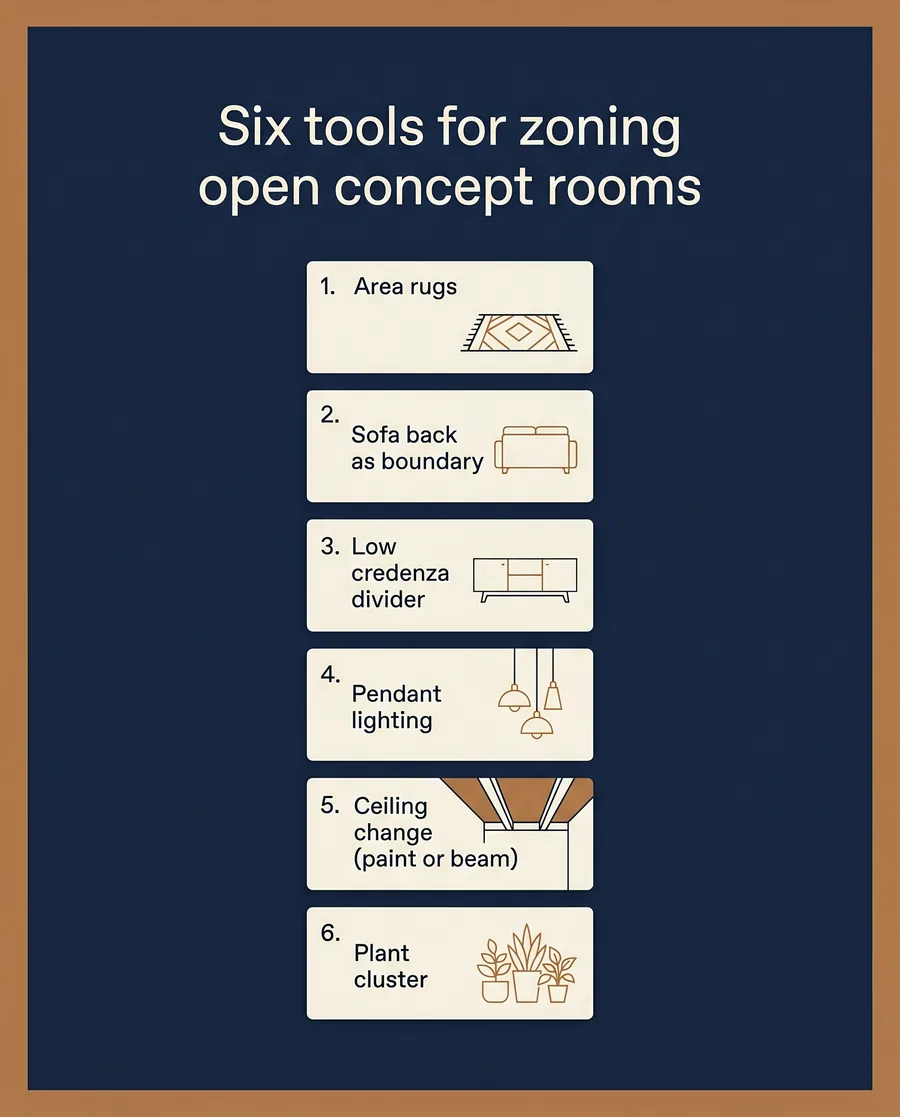
Below is the framework professional designers use to break open concept rooms into three to five distinct zones without losing the airy feeling that made you want open concept in the first place. Six tools, the order to apply them, and the common mistakes that make a long room feel even longer.
In this article
Why zones matter (and why your room feels off)
An undivided open concept room makes every activity compete for the same visual real estate. Eating, watching TV, reading, and walking through all happen in one space. The eye cannot find a place to rest because every direction shows another half finished function.
Zoning solves this by giving the eye boundaries. The boundaries do not need to be walls. A pendant light, a rug, or a low credenza changes how the brain segments the space. Functional magazine layouts use about three boundary cues per zone (rug plus pendant plus furniture orientation). Anything less reads as one big room with furniture scattered through it.
Rugs are the single highest leverage tool
If you only do one thing on this list, do this. Two appropriately sized rugs in one open concept room define the living and dining zones more clearly than any other single intervention.
- Living zone rug. 8 by 10 minimum for a sofa plus two chairs. 9 by 12 for a sectional. Front legs of every seat on the rug, ideally all four legs. The rug should extend past the front of the sofa by at least 12 inches.
- Dining zone rug. Big enough that pulled out chairs stay fully on the rug. For a 6 person rectangular table (about 78 inches), that means a 9 by 12 minimum.
- The gap between rugs. 18 to 36 inches of bare floor between the two rugs. This gap reads as a hallway, which is exactly what the eye needs to separate zones.
Both rugs should share a palette but not match. A cream wool living room rug paired with a warm taupe patterned dining rug works. Two identical rugs read as one giant rug split in half. Two unrelated rugs read as moving day.
Float the sofa: the boundary play
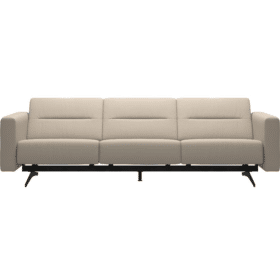
The classic open concept mistake is pushing the sofa flat against the longest wall to “save space.” It does not save space. It creates a wide unused walkway behind the seating zone and a vague no man’s land of leftover floor.
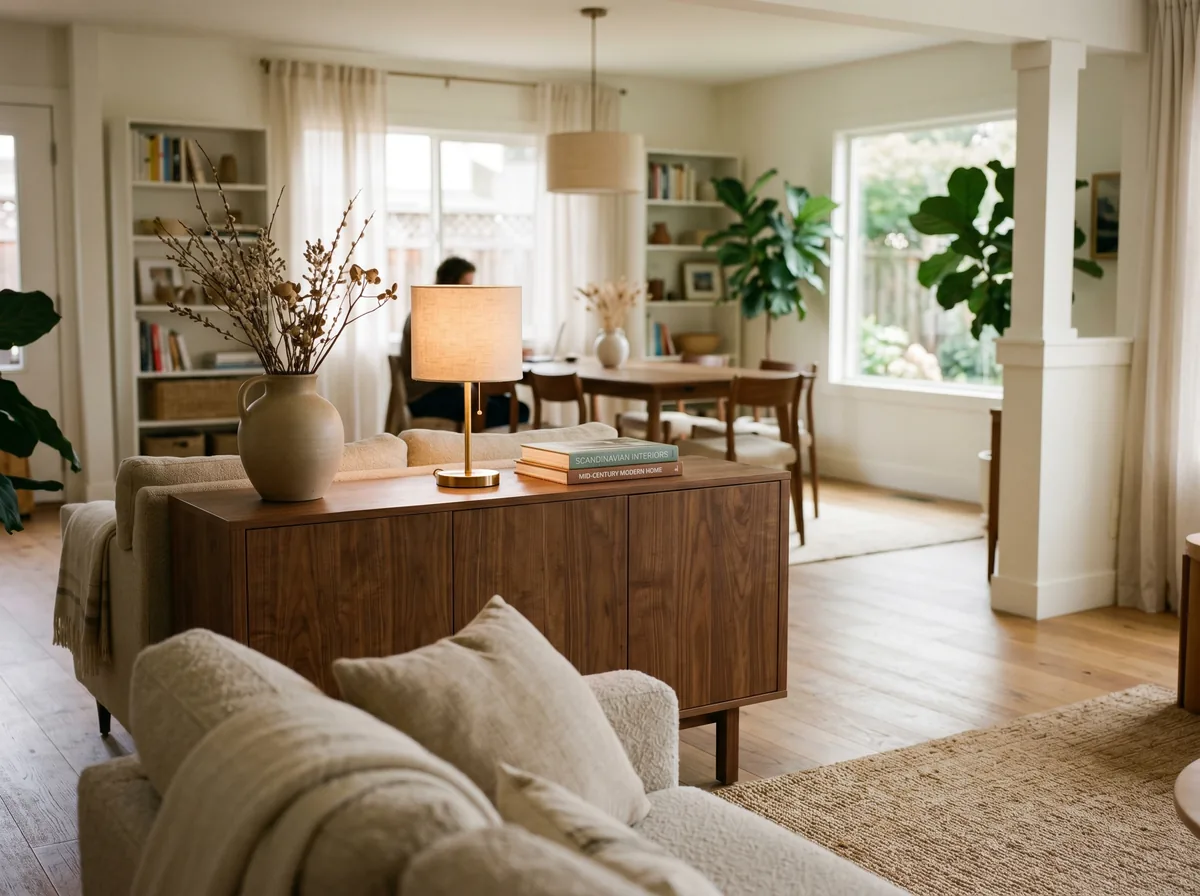
Float the sofa instead, with at least 18 inches of clearance behind. The back of the sofa becomes the visual boundary of the living zone. Behind it, place a console or credenza to anchor the boundary at eye level. The walkway moves to the back of the sofa where it belongs, and the zones feel deliberately bordered.
The low divider trick: walls without walls
A low piece of furniture (under 36 inches tall) between two zones acts as a soft wall. Sightlines stay open above it; functional separation happens below.
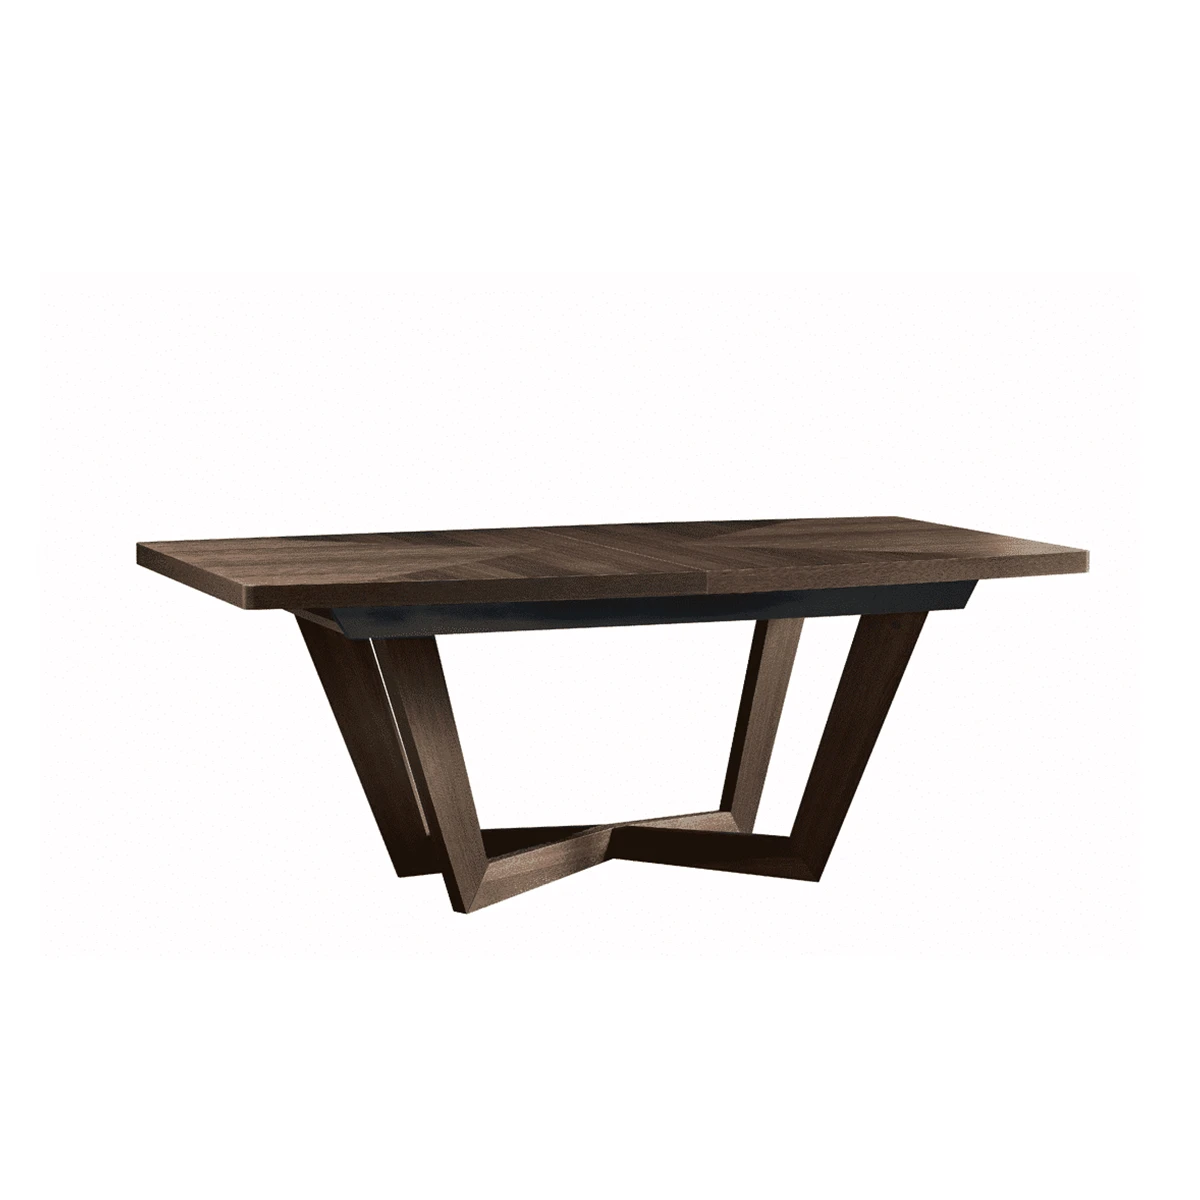
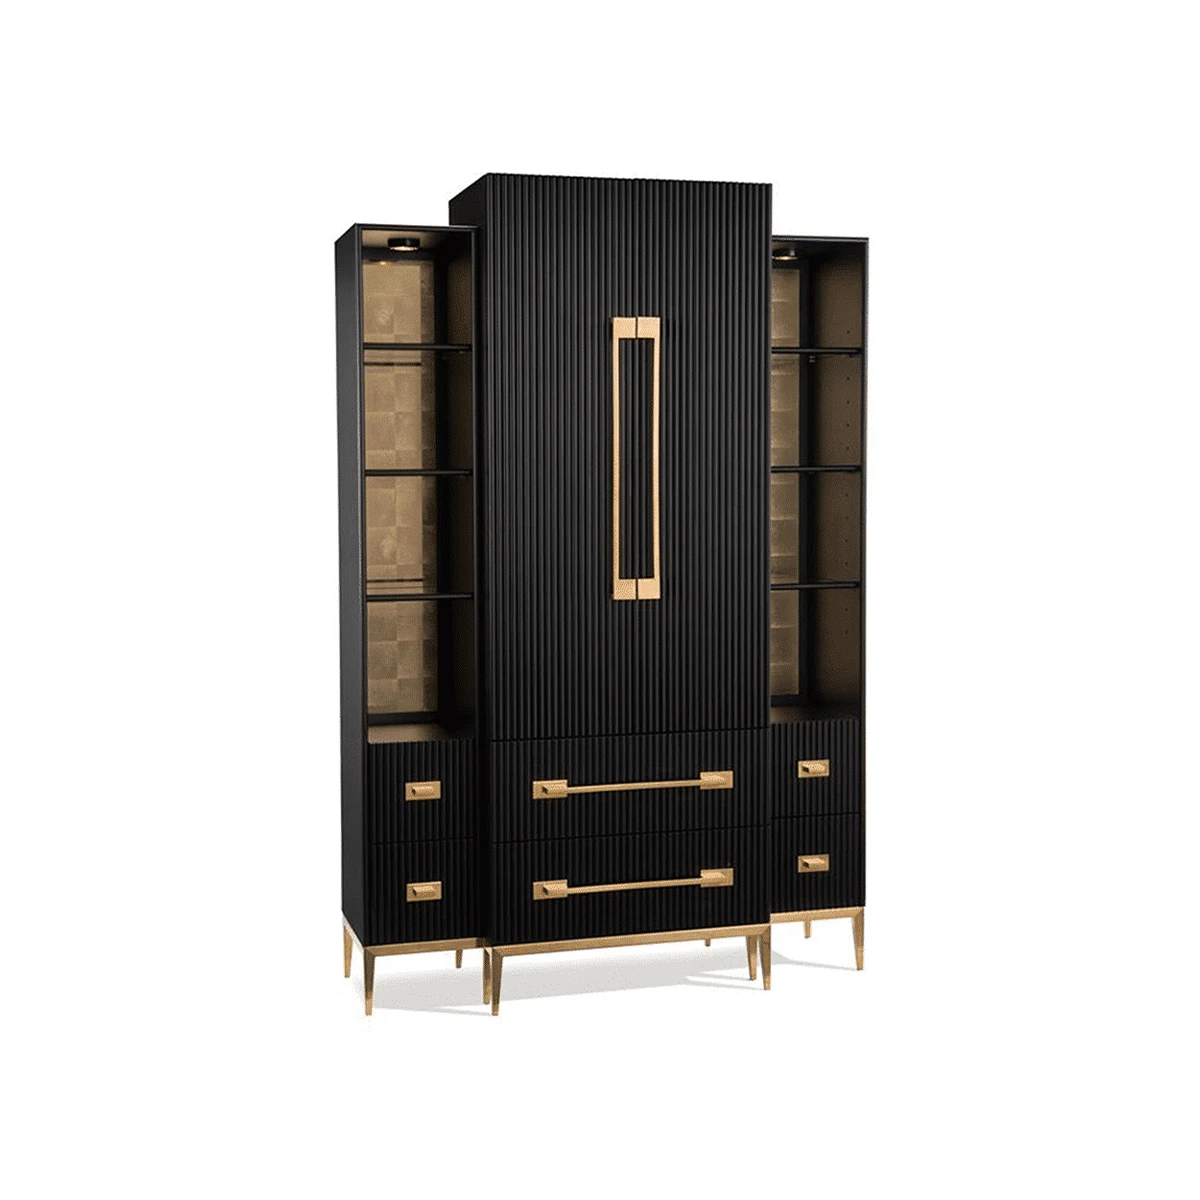
- Walnut credenza or sideboard. 60 to 78 inches long, 30 to 36 inches tall. Stores serving pieces, displays curated objects, doubles as a buffet during dinners.
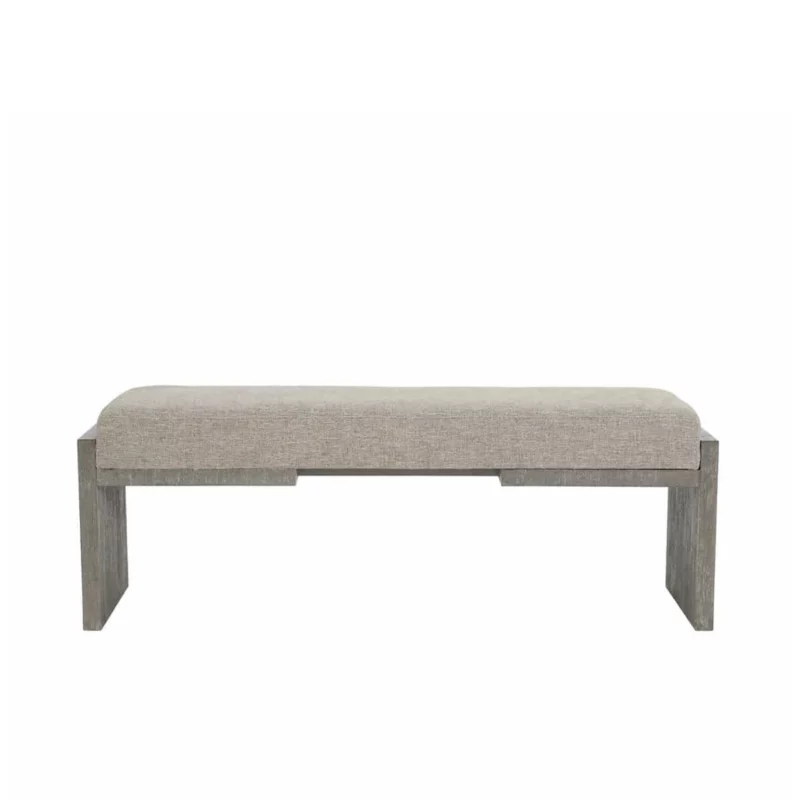
- Long bench with storage. 60 to 80 inches long, about 18 to 22 inches tall. Lower profile reads more contemporary. Works behind a sofa.
- Console table. Narrow (12 to 16 inches deep) and tall (32 to 36 inches). Best option when floor area is tight.
- Open shelving unit. Tall (60 to 78 inches) but visually open with deliberate gaps. Works for separating a home office zone from the rest of the room.
Style the top of the divider with three to five objects in odd numbers. A vase, a small lamp, a stack of books, a sculpture. The styling makes the divider read as furniture, not a partition.
Pendants and lighting as ceiling level zone markers
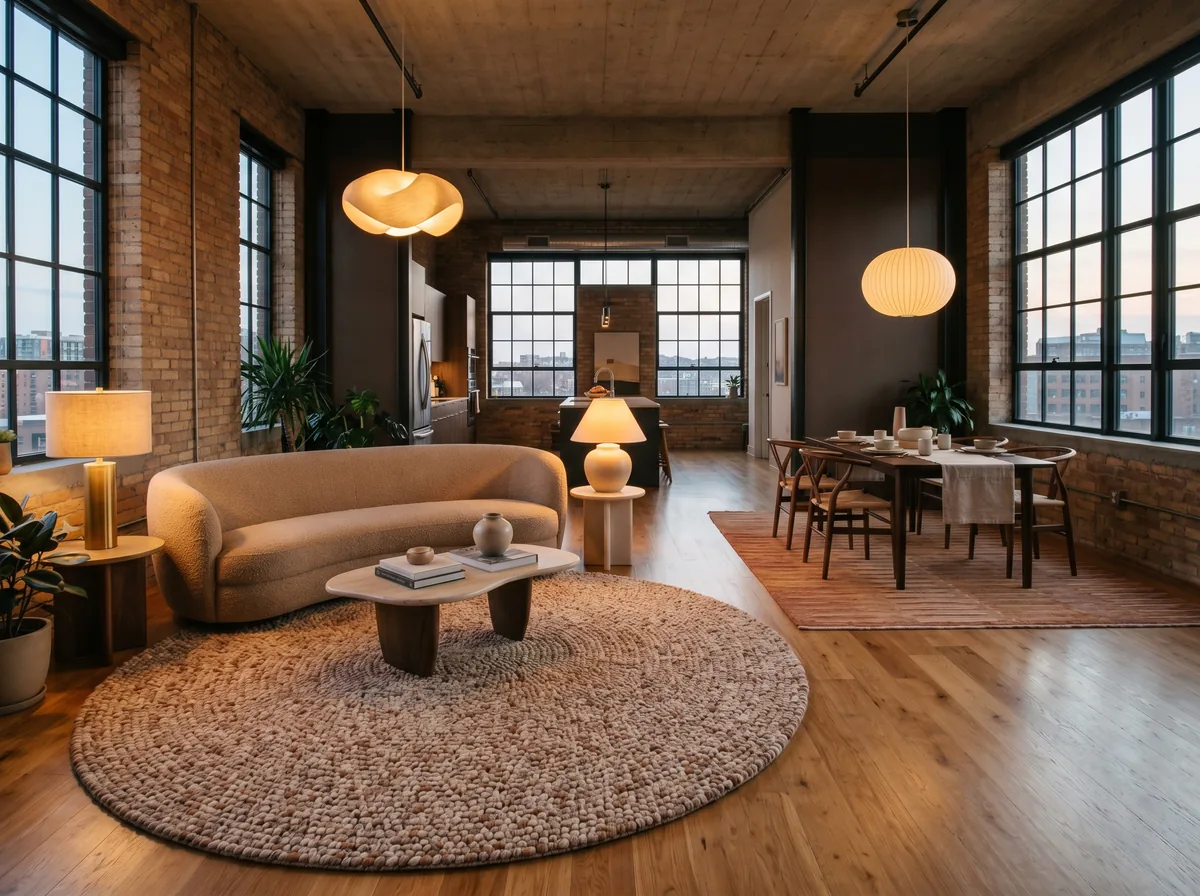
Most open concept rooms have a single overhead light source which makes the whole space read as one zone. Adding pendants and lamps over each functional zone changes the perceived ceiling height and visually breaks the room into rooms.
- Dining zone. One pendant or chandelier centred over the table. Bottom of the fixture should hang 30 to 36 inches above the tabletop. Choose a fixture wide enough to read as deliberate (about half the table’s shorter dimension).
- Living zone. Two table lamps on side tables flanking the seating, plus an arc floor lamp behind the sofa. Avoid a ceiling pendant in the living zone unless the ceiling is over 9 feet; lamps create more intimacy.
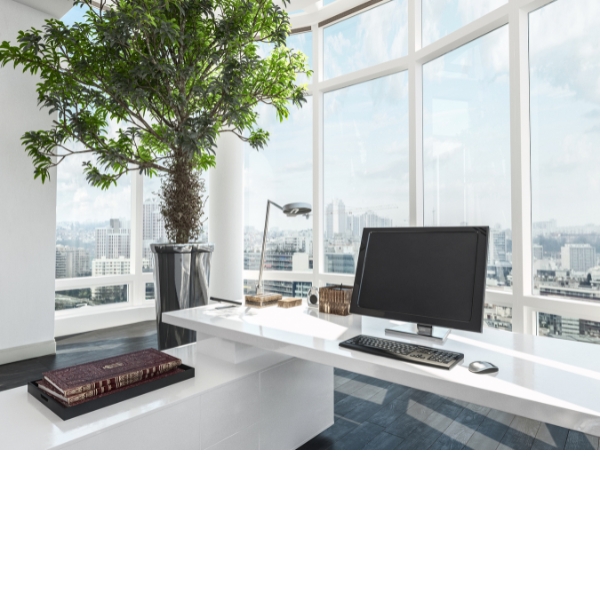
- Reading or workspace zone. A focused task lamp at the work surface, ideally on a separate dimmer.
Three or four light sources at different heights and dimming levels reads more inviting than one bright overhead. Each zone gets its own warm pool of light, and the boundaries between zones become darker by default.
Ceiling and colour cues that zone without committing
If you can do nothing structural, paint and ceiling are still your friends. Three low cost moves that signal zone change at the top of the eye:
- A coloured or wallpapered accent wall behind the dining table. The dining zone reads as its own room when the back wall changes. The living zone keeps the larger neutral palette.
- A painted ceiling cove or tray over one zone only. Even a slightly different white (creamy white over the dining, cool white over the living) creates a subtle ceiling line.
- Wood beams over one zone. A pair of faux beams over the dining table is a classic cue in finished basements and lofts. The same trick works in newer condos with drywall ceilings.
Open Concept Zoning Worksheet (Free PDF)
A printable worksheet for mapping zones in an open concept living, dining, and kitchen space.
Download the free guideFrequently asked questions
Should I use one rug or two in an open concept living and dining room?
Two. One under the living seating area, one under the dining table. They should share a palette but not match. The 18 to 36 inch gap of bare floor between them reads as a hallway and gives the eye the boundary it needs.
How do I arrange a sofa in an open concept room?
Float it. Pull the sofa at least 18 inches off the wall and use the back as a boundary. Place a low credenza or console behind it to anchor the boundary at eye level.
What is the right ceiling height for an open concept floor plan?
Open concept rooms feel best at 9 feet or higher. Below 8 feet, an open layout exaggerates the low ceiling. If you have an 8 foot ceiling, lean into smaller, lower furniture and avoid ceiling pendants in the living zone.
Can a kitchen island act as a zone divider?
Yes. The island becomes the boundary between kitchen and living or dining. The same rules still apply: pendants over the island, a different floor finish or rug edge on the dining side, and a long horizontal counter that grounds the kitchen zone.
Do I need a low divider if I already have rugs and pendants?
Not always. Rugs plus pendants plus floated furniture is often enough. A divider becomes useful when the room is over 22 feet long, when there is a third zone (workspace), or when the dining and living anchors are too symmetrical and the eye needs an interrupting element.
How do I style a console behind a floated sofa?
Three to five objects in odd numbers, varying heights. A table lamp on one end, a small stack of two books topped with a sculpture or bowl in the middle, and a low trailing element (a small plant or a single object) on the other end. Skip the row of identical candlesticks.
Keep reading
Open concept living rewards layouts you can plan on graph paper before you order a single piece. Book a complimentary design consultation at our Toronto showroom or browse our modern furniture collections online. We deliver across Toronto, the GTA, and across Canada.